
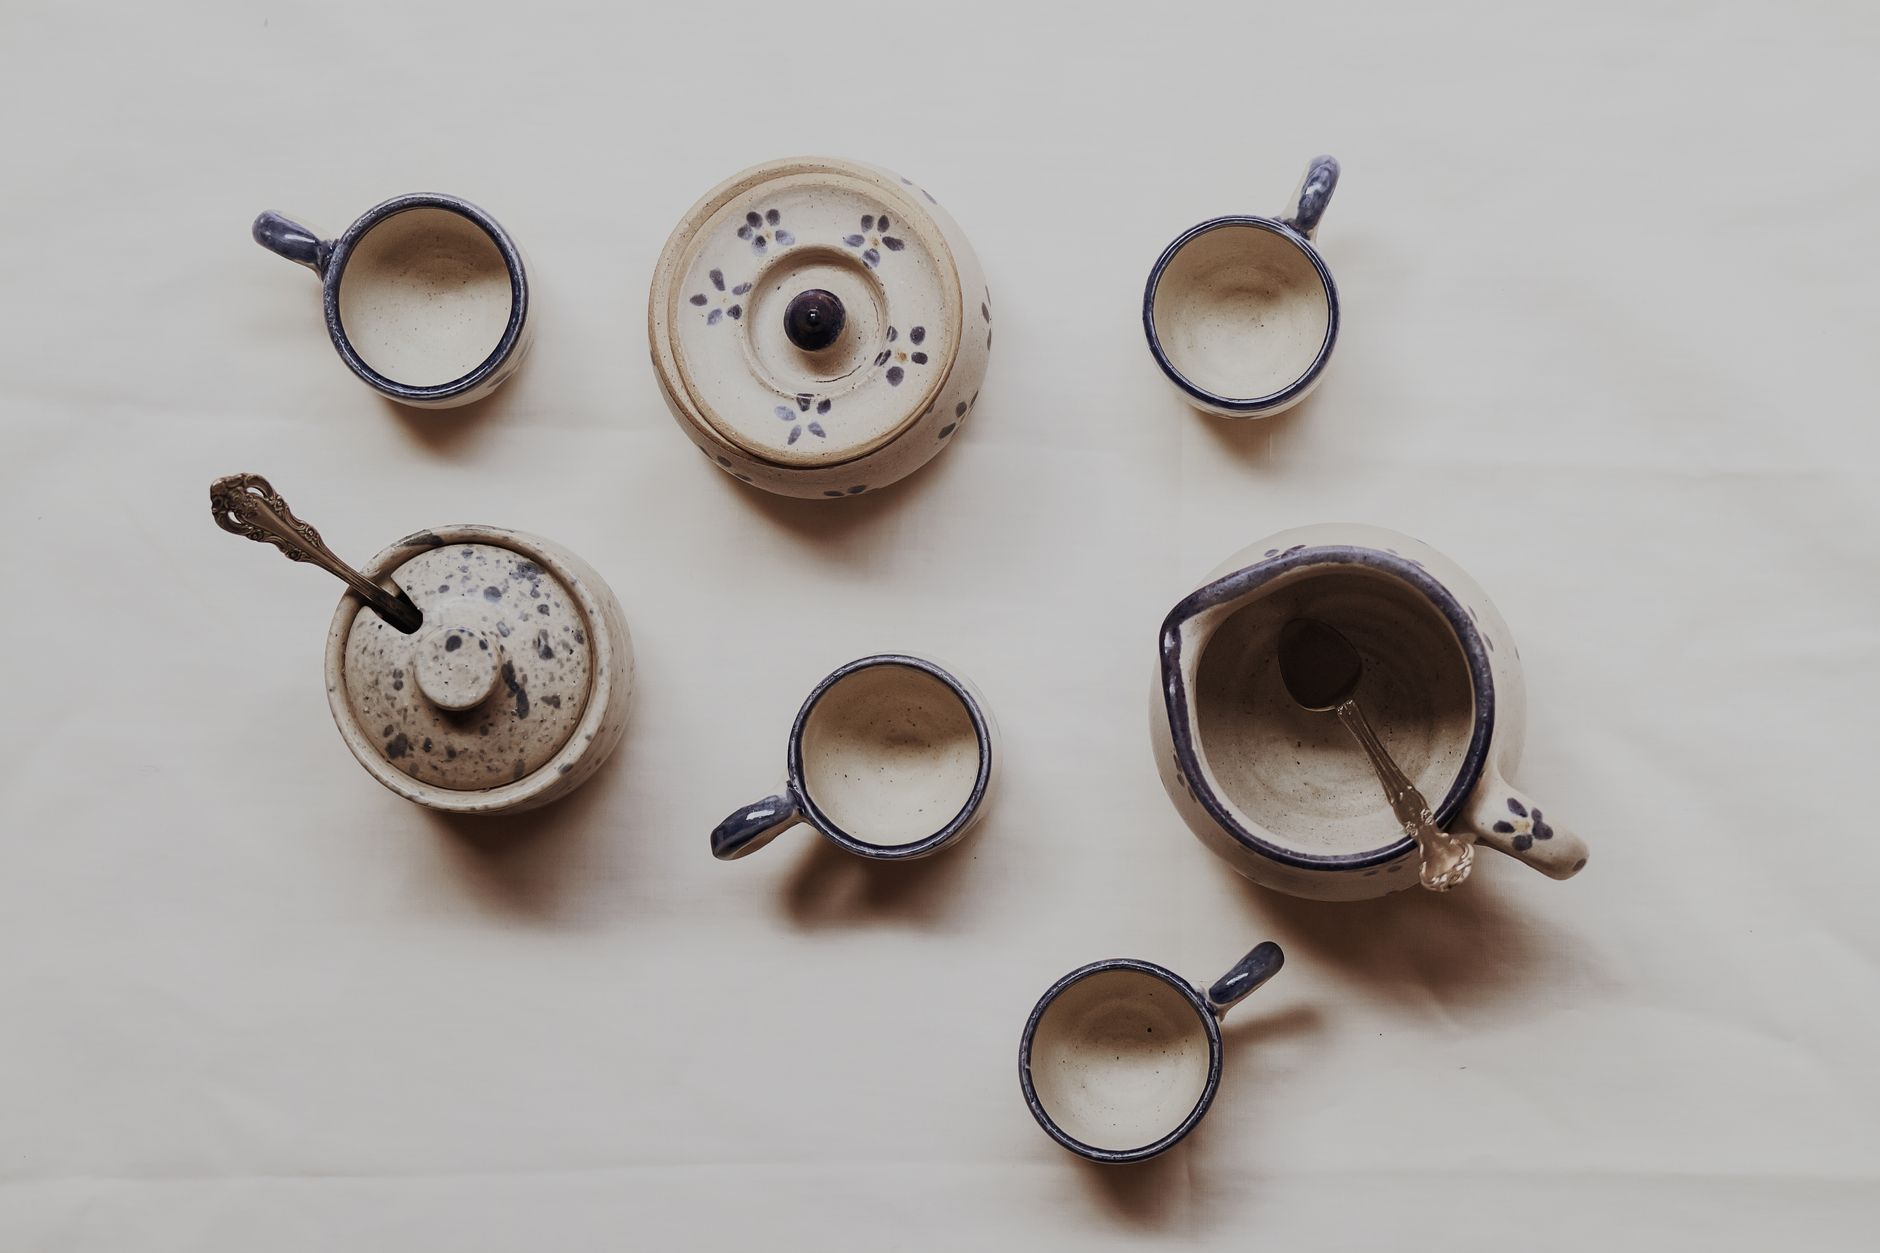
Photographing vintage pieces for resale or insurance is one of those skills that looks simple until something goes wrong. A buyer disputes a chip that wasn't mentioned. An insurer rejects a claim because the photos don't clearly show the item's condition before the damage. Good photography protects you either way, and it doesn't require expensive gear to do it properly.
Why the photos matter more than people think
For resale, clear photographs do the selling before a single word of description lands. A buyer scrolling through listings on Etsy or a local marketplace will pause on a photo that shows exactly what they're getting. Blurry shots, bad lighting, and missing angles push buyers toward the next listing. For insurance, photographs serve a different but equally important purpose: they establish what you owned, what condition it was in, and roughly what it was worth. Without them, claims on vintage jewellery, ceramics, and furniture are notoriously hard to substantiate.
The good news is that a modern smartphone is genuinely capable of producing images sharp enough for both purposes. Technique matters far more than the device.
Set up the right background and light
Start with a neutral background. White, off-white, or mid-grey card stock works well for small items like jewellery, enamelware, and glassware. For furniture or larger pieces, a clear wall or an uncluttered corner does the job. Busy backgrounds compete with the subject and make it harder to read shape and condition accurately.
Natural light from a north-facing window (avoiding direct sun, which creates harsh shadows) is your best friend for most vintage pieces. Overcast days produce soft, even light that reveals texture without blowing out reflective surfaces. If you're shooting at night or in a dim room, use two lamps placed at roughly 45 degrees to either side of the subject rather than a single overhead bulb. Single-point lighting flattens detail and casts one deep shadow that hides exactly what a buyer or insurer needs to see.
Avoid using your phone's flash. It washes out colour, erases surface texture, and creates a harsh reflection on glazed ceramics, glass, and polished metal.
Which angles to cover
Every vintage item worth photographing deserves at least five shots. Think of it as a minimum, not a target.
- Overall front: the establishing shot that shows the full piece in good proportion.
- Overall back or underside: reveals maker's marks, stamps, and any damage the front conceals.
- Close-up of markings: hallmarks, pottery stamps, labels, or manufacturer logos deserve their own tight frame. If you're working with vintage jewellery, our guide on how to read vintage jewellery hallmarks and maker's marks explains what each stamp actually means, which is useful context when captioning insurance records.
- Any damage or wear: chips, crazing, repairs, fading, or staining must be photographed clearly. For resale, this builds trust. For insurance, it establishes pre-existing condition.
- Detail or texture shot: the weave of a textile, the glaze on a ceramic, the grain of timber furniture. This is often the shot that seals a sale.
Scale and context shots
A photograph without any reference for size is genuinely unhelpful. Place a common object beside the item in at least one shot: a coin for small pieces, a standard dinner plate for medium items, or a chair next to a piece of furniture. Some sellers use a printed ruler laid flat beside the piece, which works well for insurance documentation.
Context shots, where the piece is styled in a real-world setting, help buyers picture it in their home and are particularly effective for decorative items. A vintage ceramic vase photographed on a timber shelf next to a plant communicates scale and mood at once. Keep it simple, though. Two or three props at most. The piece itself should remain the obvious subject.
Camera settings and focus
On most smartphones, tapping the screen to set focus on the item works well. For small objects like rings or brooches, switch your phone's camera into portrait mode or, if available, a dedicated macro setting. These reduce the minimum focus distance and let you get genuinely sharp close-ups of markings without the subject blurring.
Keep the phone steady. For insurance-quality shots especially, even slight camera shake produces images that are hard to read when enlarged. Rest your elbows on a flat surface, or use a small tripod. Ten seconds of extra care produces a noticeably sharper result.
Shoot more frames than you think you need. Storage is cheap. Deleting three near-identical shots later is far easier than reshooting an item you've already packed away or sold.
Editing: keep it honest
Light editing is fine. Adjusting brightness, contrast, and white balance so the photo accurately represents the item's colour is legitimate and expected. Removing a chip, smoothing a crack, or artificially brightening a faded piece is not. For resale, misleading edits create returns and disputes. For insurance, they undermine the document's legal usefulness.
Most phone photo apps include a white balance correction tool. Use it when an item looks orange under indoor lighting or blue under shade. The goal is a photo that matches how the piece looks when you hold it under natural daylight.
Organising your archive for insurance purposes
A photograph is only as useful as your ability to find it. For insurance purposes, store photos in a dedicated folder labelled by category and date, backed up to cloud storage. Add a brief text note alongside each set: the item's name, approximate age or period, any known provenance, and the estimated or purchase value. This creates a portable record that works even if your phone or computer is lost in the same event you're claiming for.
If you're building a broader vintage collection and thinking about how items sit together visually, the way vintage glassware earns its place when displayed with intention is worth considering alongside your photography process. Pieces that are well displayed tend to be well documented, because they're handled deliberately rather than left in boxes.
Backing up photographs off-site costs nothing if you're using a free cloud service. That one habit is the difference between a claim that proceeds smoothly and one that stalls for months.
A quick checklist before you put the camera away
Run through this before moving to the next item. Front shot, back shot, markings close-up, any damage close-up, one scale reference, one context or styling shot. Check that the focus is sharp on each. Check that the colour looks accurate. If something looks wrong, retake it now. You won't want to set the piece up again tomorrow.
Good vintage photography is really just good attention to detail, applied with a device most people already own.