
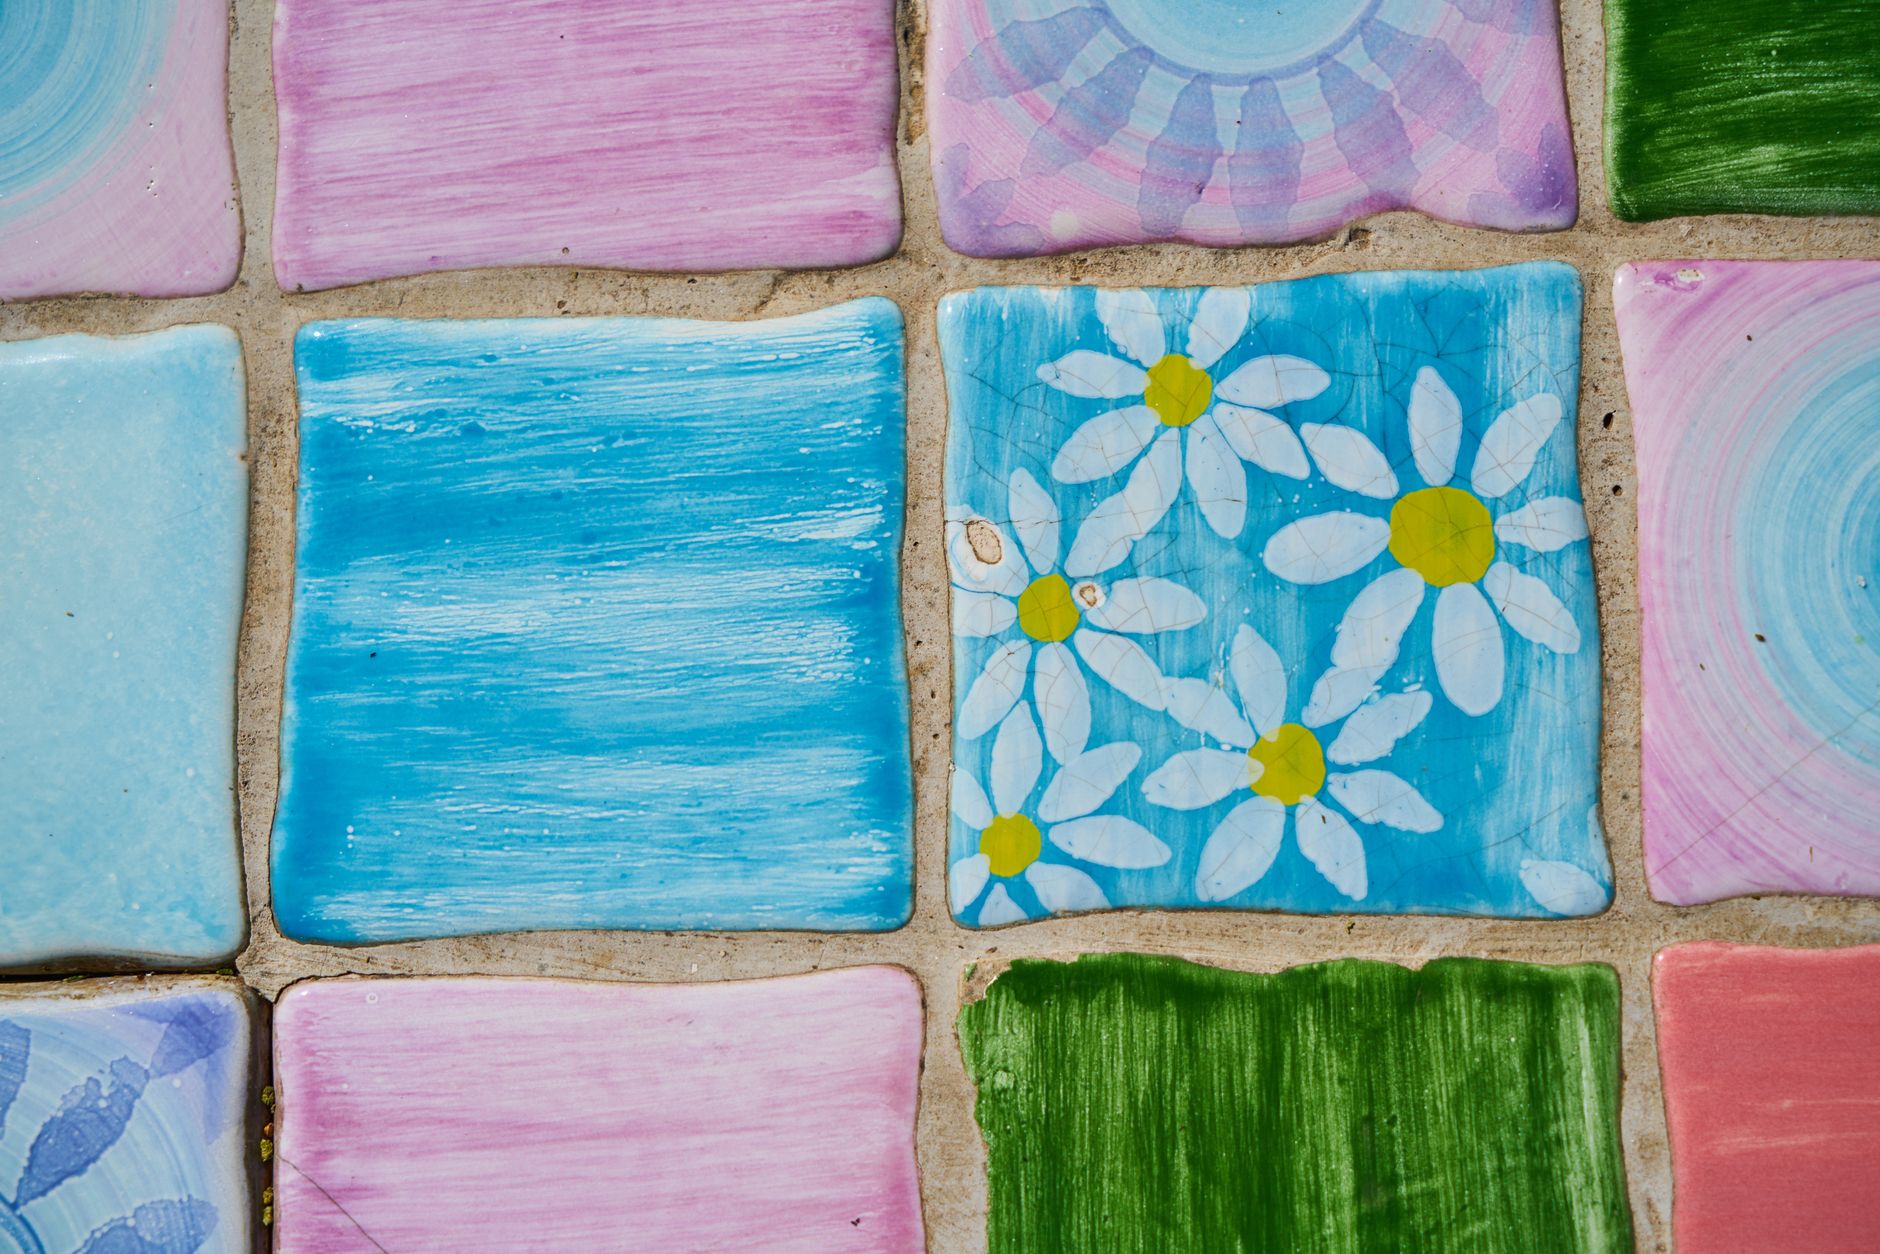
Ceramic tiles are one of those materials that rarely get a second chance. A bathroom renovation leaves a stack of leftover pieces in the shed, a demolition yields crates of patterned beauties, and most of them end up in a skip. In repurposed design, that's a significant missed opportunity. Old ceramic tiles are dense, durable, and often carry the kind of decorative detail that mass-produced homewares simply can't replicate. With a few basic tools and a clear idea, they can become coasters, splashback art, mosaic planters, garden stepping stones, and more.
Where to source salvaged tiles
The best places to find tiles worth working with are demolition yards, op shops, and Gumtree listings from people mid-renovation. Architectural salvage dealers in Melbourne's outer suburbs often carry crates of original 1960s and 1970s tiles in colours that haven't been in commercial production for decades: avocado, harvest gold, deep terracotta, and soft powder blue. These are the tiles worth hunting. A box of 20 matching pieces from a salvage yard can cost as little as $10 and carry more visual character than anything you'd buy new.
If you're pulling tiles from your own renovation, clean them promptly before old grout and adhesive set hard. A cold chisel and hammer will pop most tiles free without cracking them. Save the ones with intact glaze. Even chips and cracks can work in mosaic applications, so don't discard too quickly.
Coasters: the simplest starting point
A single ceramic tile makes an excellent coaster. Cut a sheet of self-adhesive cork to the tile's dimensions, press it to the base, and trim the edges flush. That's it. The result is a coaster that's heavier and more heat-resistant than anything sold at a chain homewares store. Four matching tiles become a set. Four mismatched ones from different eras become a conversation piece.
For a more polished finish, use a tile file or diamond-tipped pad to smooth any rough edges. Patterned tiles from the 1950s and 1960s, particularly those with geometric or floral motifs, need no additional decoration. Plain white tiles invite a painted detail: a botanical illustration using enamel paint, a simple monogram, or a hand-lettered herb name for a kitchen set.
This project pairs well with the approach of repurposing old tin cans into charming home accents if you're building a coordinated handmade gift set from salvaged materials.
Mosaic planters and garden pots
Broken tiles are the raw material for mosaic work, and a plain terracotta pot is the ideal canvas. The technique is straightforward: snap tiles into irregular pieces using tile nippers or a hammer and hessian bag, arrange them on the pot surface in a pattern you like, then adhere them with tile adhesive and grout the gaps once dry. Sanded grout in charcoal or white gives the cleanest finish. Unsanded grout works better for joints under 3mm wide.
Colour planning before you start matters more than most people expect. Lay your broken tile pieces on a flat surface first and move them around until the arrangement feels right. Fixing the pattern in your head before it's adhered to the pot saves a lot of frustration. Aim for consistent joint widths of roughly 4mm: tight enough to look deliberate, wide enough to grout comfortably.
Completed mosaic pots are weatherproof if you use exterior-rated tile adhesive and seal the finished grout with a penetrating grout sealer. They suit both indoor and outdoor use and are one of the most durable repurposed design projects you can make.
Garden stepping stones
Large format tiles, particularly 300mm by 300mm or bigger, make excellent garden stepping stones without any modification at all. Press them level into the soil along a garden path, check them with a spirit level, and bed them on a thin layer of sand if the ground is uneven. Patterned tiles add visual interest; plain terracotta or slate-look tiles blend into a garden more quietly. Both work.
If you want to make your own stepping stone slabs from tile fragments, pour ready-mix concrete into a square timber mould, press tile pieces face-down into the wet surface, and allow to cure for 48 hours before turning out. The tile faces become the walking surface. This is a project that genuinely uses every broken piece you have, including the smallest chips.
Wall-hung tile art
A single decorative tile hung on a wall reads as artwork when it's mounted and framed deliberately. Source a vintage picture frame sized to fit the tile (or slightly larger, with a mat cut to hold the tile centred), secure the tile with two-part epoxy or tile adhesive to a backing board, and hang it. Patterned Delft-style tiles, hand-painted Spanish tiles, or bold Italian floor tiles from the 1970s all read as art in this context. They don't need to match anything else in the room to work.
A grid arrangement of nine matching tiles on a feature wall functions as a permanent installation. Use tile adhesive directly on a painted plaster wall, space the tiles with plastic spacers for consistent joints, then grout. The result looks considered and intentional. It's also a practical way to use a full box of salvaged tiles that don't have enough pieces for a floor.
For inspiration on how repurposed objects become striking wall features, the article on repurposing old window frames into stunning home decor covers a similar approach to turning salvaged architectural materials into art.
Trivet and serving boards
A tile mounted to a timber offcut becomes a functional trivet for the kitchen bench. Cut a piece of hardwood to the tile's footprint, sand the edges smooth, rout a shallow recess for the tile to sit flush if you have a router, and adhere the tile with epoxy. Finish the timber base with food-safe oil. The combination of warm timber and glazed ceramic is one of the most satisfying material pairings in repurposed design, and the finished piece is genuinely useful.
Larger versions, perhaps 300mm by 400mm using two tiles side by side on a wider board, work as cheese boards or decorative serving platters for dried goods. Don't use porous, unglazed tiles for food contact surfaces. Fully vitrified or glazed tiles are the only food-safe options.
A note on tools and safety
Tile cutting produces fine silica dust, which is a genuine respiratory hazard. Wear a P2 dust mask whenever cutting or grinding ceramic tiles, work outdoors or in a well-ventilated space, and wet-cut where possible using a diamond blade with water cooling. Tile nippers for mosaic work generate less dust than angle grinders or tile saws, so they're the better choice for small-scale repurposed projects. Safety glasses are non-negotiable: tile fragments travel fast.
EcoSoul Collective stocks a range of repurposed ceramic and salvaged material pieces in the Belgrave store, and the team is always happy to talk through project ideas for materials you've collected. EcoSoul Collective sources repurposed homewares from local artisans who work with exactly these kinds of reclaimed materials, turning demolition offcuts into pieces worth keeping.