
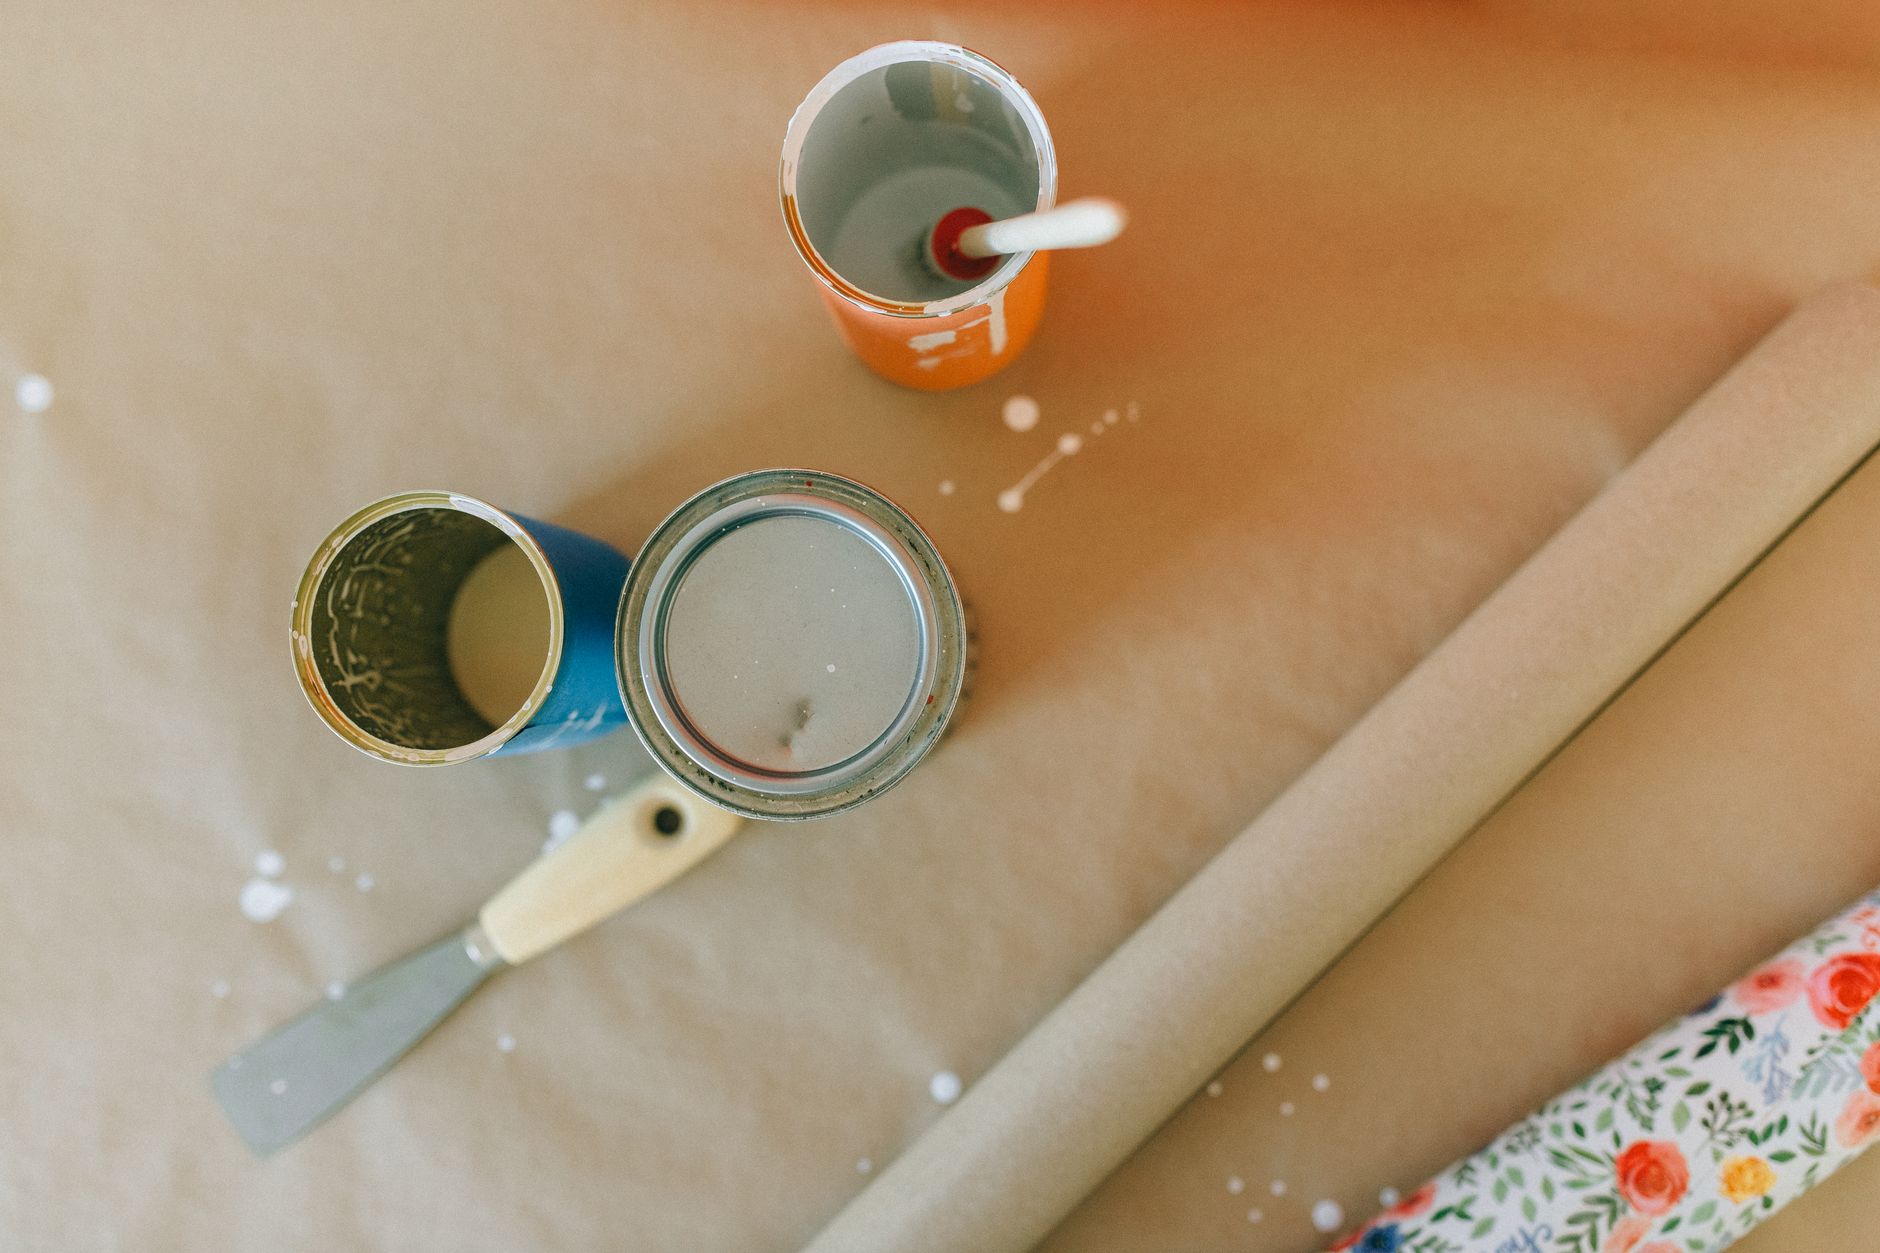
Tin cans are one of the most freely available materials in any household, yet they almost always go straight into the recycling bin. That's a missed opportunity. With some basic preparation and a little creative thinking, old tins can become planters, pendant lights, desk organisers, herb gardens, and decorative lanterns that look genuinely considered rather than improvised. Repurposing tin cans is one of the easiest entry points into the world of repurposed design, requiring almost no tools and very little cost.
Preparing your tins: the step most people skip
Good results start with proper preparation. Rinse each tin thoroughly and remove the label by soaking it in warm soapy water for ten minutes. Most labels peel off cleanly; stubborn glue residue comes off with a little eucalyptus oil on a cloth.
The inside lip of an open tin is sharp. File it down with a metal file or fine-grit sandpaper before you do anything else. This step isn't optional, especially if the tin will be handled regularly or used around children. Run your finger gently around the rim to check for any remaining burrs after filing.
If you're painting the tin, wipe it down with white vinegar first. Vinegar etches the metal surface slightly, giving paint something to grip rather than peeling off in sheets after a week. A spray primer designed for metal surfaces does the same job more thoroughly and is worth the investment if you're making a batch.
Planters: the most popular transformation
Tin can planters are popular for good reason. They drain well when you punch drainage holes in the base with a nail and hammer, they hold moisture long enough for roots to drink, and they look particularly good with trailing succulents or upright herbs. A row of identically sized tins planted with basil, parsley, and thyme on a kitchen windowsill is both functional and genuinely attractive.
Drainage holes are non-negotiable. Place the tin on a scrap of timber before you nail through the base, using 3 to 5 holes spread across the centre. Without them, roots rot within a fortnight.
For outdoor use, spray the outside of the tin with a clear rust-inhibiting lacquer. Bare metal oxidises quickly in rain, and while a little weathering can look beautiful on a garden bed edge, uncontrolled rust will eventually compromise the structure of the tin.
Lanterns: simple punching techniques that look expensive
Punched tin lanterns have a long craft history, and the technique is genuinely beginner-friendly. Fill the tin with water and freeze it solid before you start. The ice keeps the walls rigid while you punch a pattern through with a nail, preventing the metal from denting inward. Once punched, let the ice melt completely and dry the tin before use.
Simple geometric patterns work best. A grid of uniform holes creates a clean, modern look. Concentric circles radiating from the base read more traditional. Either way, draw your pattern on the tin with a marker before you start so the spacing stays consistent.
Drop a tea light inside and the effect is immediate. The punched holes throw pinprick constellations of warm light across a wall or ceiling. Group three different-sized tins together on a shelf or outdoor table for a more layered result.
Desk and studio organisers
A cluster of tins in varying heights makes a practical and visually appealing desk organiser. Paint them in a single colour for cohesion, or leave them raw and label each one with a strip of washi tape. Tall tins from tomato puree or coconut milk hold scissors, pens, and rulers. Shorter tins from tuna or chickpeas hold paper clips, erasers, and small tools.
Wrapping tins in twine or jute rope is another option that takes about fifteen minutes per tin and no painting at all. Start at the base and work upward in tight rings, securing the end with a drop of craft glue. The result is warm and textural, sitting comfortably on a timber desk or in a natural-material interior.
If you want something more polished, repurposing glass jars alongside tins creates a cohesive set of organisers that looks deliberately styled rather than improvised.
Wall-mounted herb gardens
A wall-mounted tin herb garden works particularly well in small kitchens where bench space is limited. Attach each tin to a timber board using hose clamps or U-bolts, then mount the board to the wall with standard screws. Fill with potting mix and plant with whatever herbs you use most.
The tins should sit slightly angled forward so water doesn't pool behind them. Pre-drill a drainage hole in each tin before mounting. Stagger the heights slightly rather than running them in a perfectly even row; an offset arrangement looks more intentional and allows light to reach each plant more evenly.
This kind of project is a good example of how repurposed design can solve a practical problem rather than just adding decoration. It's the same thinking behind transforming old ladders into home storage: the form follows the function, and the material gives the result genuine character.
Finishing and styling tips
The biggest styling mistake with tin can projects is inconsistency. A shelf of tins in eight different colours and finishes reads as clutter. Limit your palette to two or three tones, or commit to a single treatment across all tins. Raw metal, chalk paint in one muted shade, or wrapped in natural fibre each work well. Mixing all three on the same shelf doesn't.
Grouping by size also helps. Your eye reads a collection as intentional when the heights vary gradually rather than randomly. Tallest at the back or one end, shortest at the front or opposite end, with mid-height tins bridging the gap.
Small labels made from brown kraft paper and tied with twine add a handmade quality that suits the material well. Keep the text short: a plant name, a tool name, a date. The label should identify, not explain.
Tin cans offer something genuinely rare in home décor: they're free, infinitely available, and transform convincingly with minimal skill. The only real requirement is taking the preparation seriously, particularly the safety filing and the rust protection for outdoor pieces. Get those two things right and the creative possibilities are wide open.