
Pallet furniture is one of the most accessible entry points into repurposed design. These chunky timber platforms turn up outside warehouses, hardware stores, and loading docks across Australia, often free to anyone willing to take them. With a little preparation and a handful of basic tools, they can become coffee tables, garden sofas, bookshelves, raised garden beds, and more. The key is knowing how to choose the right pallets, prepare them safely, and finish them in a way that lasts.
Choosing safe pallets to work with
Not every pallet is suitable for furniture making, and the difference matters for your health. Always look for the IPPC heat-treatment stamp, which reads "HT" on the pallet's side stringer. Heat-treated pallets have been processed at high temperatures to kill pests and pathogens, making them safe for home use. Avoid any pallet marked "MB", which indicates methyl bromide chemical treatment. This fumigant can leach from the timber and poses genuine health risks, especially indoors or around children.
Beyond the stamp, inspect for staining, unusual odours, and deeply split boards. Pallets used to transport chemicals or industrial products are best left alone, even if the markings look fine. Pale, unstained timber with no chemical smell is usually a good sign. Most standard pallets from grocery warehouses, furniture suppliers, or garden centres are made from radiata pine or hardwood and clean up beautifully.
Preparing your pallets before you build
Raw pallets are rough, splintery, and often slightly warped, so preparation is the most important step. Start by sanding the surface thoroughly with 80-grit sandpaper, then follow with 120-grit for a smoother finish. Pay close attention to edges and corners, which tend to splinter the most. A belt sander speeds this up considerably, but a hand sander works fine for smaller pieces.
If you plan to use your furniture outdoors, apply a timber oil or exterior-grade sealant after sanding. This protects against UV exposure, moisture, and the cycle of wet and dry conditions that causes cracking over time. For indoor furniture, a clear wax, water-based varnish, or chalk paint all work well depending on the finish you want. Pallets take paint and stain readily, which makes them a forgiving material for experimenting with colour.
Project ideas for every skill level
The simplest pallet project is a coffee table: stack two pallets, add hairpin legs or small wooden feet, sand and seal, and the job is done. The natural slatted surface works well with a piece of tempered glass on top if you want a cleaner look. For a beginner, this project can be completed in a weekend with no specialised skills.
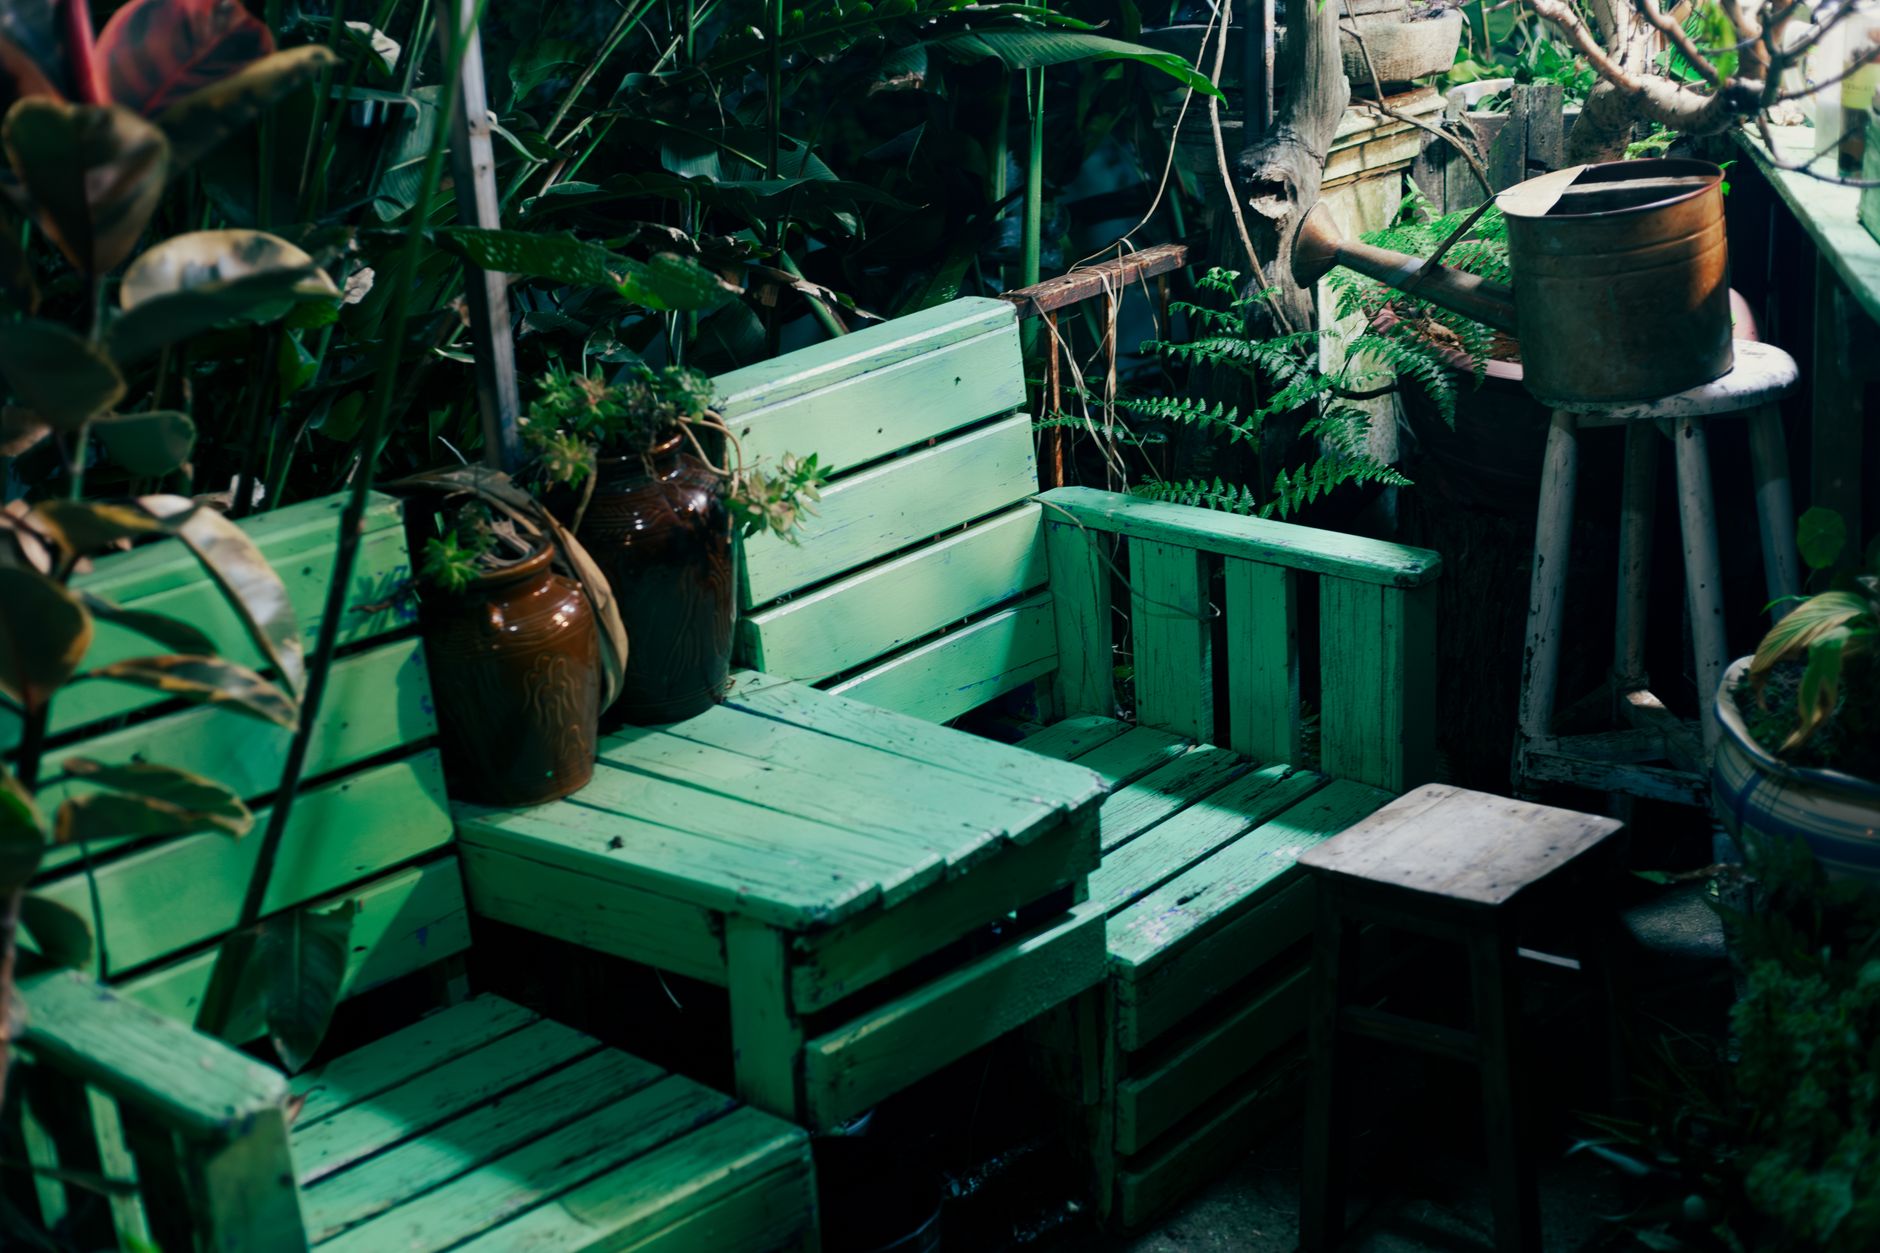
A pallet garden sofa takes a little more effort but requires no cutting at all. Lay one pallet flat as the seat base and stand a second upright behind it as the backrest. Secure them with timber screws, add a third pallet or timber frame for the armrests, and finish with outdoor cushions. The result is a solid, weather-resistant outdoor seat that costs a fraction of anything from a furniture store. If you enjoy working with reclaimed timber at a more ambitious scale, the art of turning reclaimed wood into beautiful furniture explores how makers approach more complex builds using similar raw materials.
Bookshelves and wall-mounted storage are another strong option. A single pallet, cleaned up and mounted horizontally on a wall, creates a shallow shelf perfect for plants, books, or decorative objects. The pre-existing gaps between slats are useful for hanging small hooks or positioning items at varying depths. For renters who can't drill into walls, a freestanding version propped against a wall with a small stabilising bracket works just as well.
Joining, fastening, and making it sturdy
The most common frustration with pallet furniture is wobble. Pallets are not precision-cut, so gaps and uneven surfaces are normal. The fix is to work methodically: check each pallet on a flat floor before assembling, shim any rocking corners with timber offcuts, and use plenty of wood screws rather than nails. Pre-drilling pilot holes prevents the timber from splitting, especially near edges.
Wood glue adds strength to butt joints and is worth using alongside screws for anything load-bearing. If you're building a bed base or a heavy storage unit, consider adding a central support beam along the underside to prevent sagging over time. The goal is furniture that feels solid from day one, not something that loosens after a few months of use.
Finishing touches that lift the result
The difference between pallet furniture that looks rough and pallet furniture that looks intentional usually comes down to the finishing. A consistent paint colour or stain ties pieces together. Legs and hardware in a contrasting metal (black hairpin legs are a popular choice) add a considered, modern edge. Cushions, throws, and potted plants do the rest for outdoor settings.
Labelling your pieces with a small burned or stamped mark can also add character and provenance, particularly if you're making them as gifts or to sell at local markets. Writing a short story about the materials used is something worth considering too: if you're selling repurposed work, knowing how to write product descriptions that actually sell handmade goods can make a real difference in how buyers connect with what you've made.
Working with what you have
Pallet furniture suits the circular economy precisely because it starts from a material that would otherwise go to landfill or be chipped into mulch. The timber is usually solid, the dimensions are consistent, and the price is hard to beat. More than that, each piece carries a certain honesty: you can see the grain, the wear, and the history of the material in the finished product. That quality is increasingly rare in a world of flat-pack surfaces and synthetic finishes, and it's exactly what makes repurposed design worth pursuing.